
Painting
Caulking and joint sealing: the maintenance nobody schedules
Sealant is the cheapest component in a building envelope and the first one to fail. Almost nobody has it on a schedule, and almost every water problem we trace comes back to one.
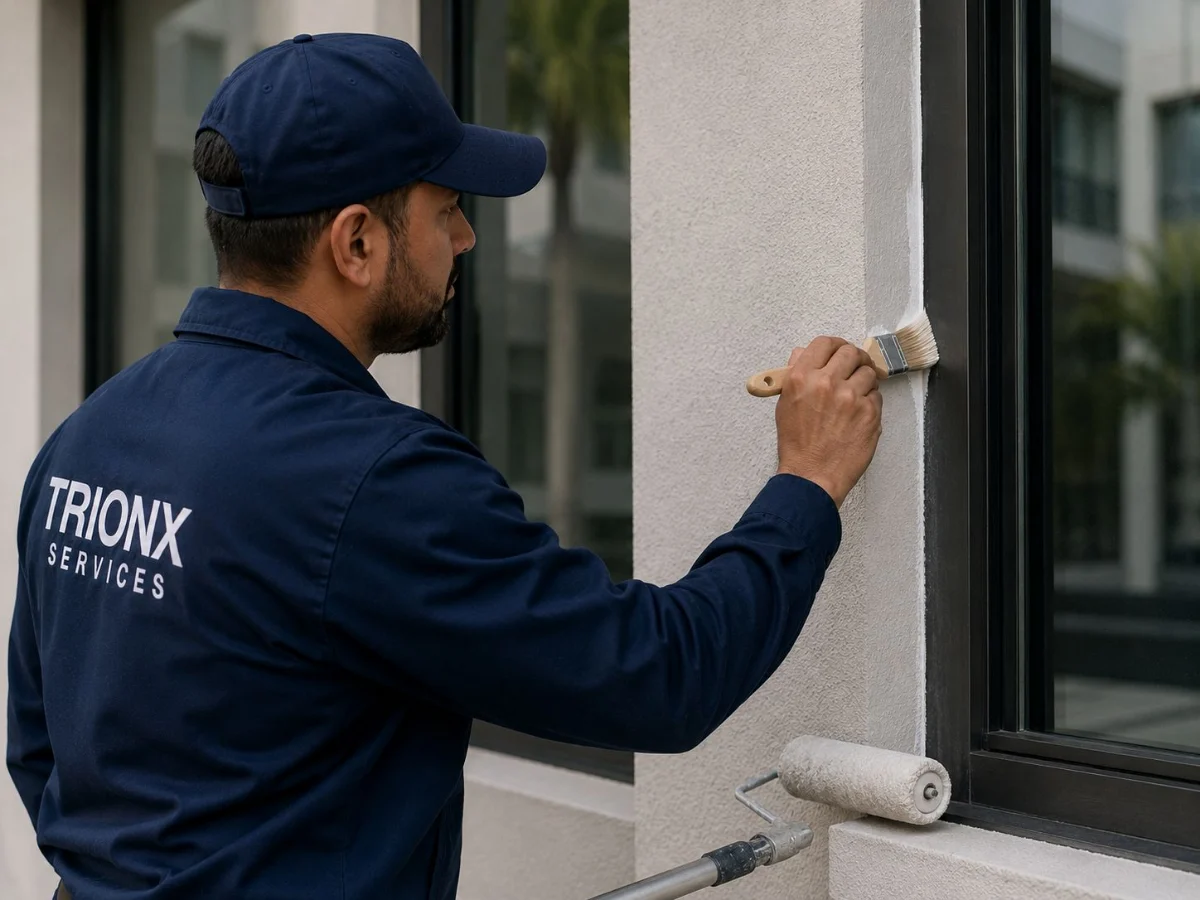
A building moves. Materials expand and contract with temperature, the structure settles, and different materials meeting at a joint move by different amounts. Sealant is what accommodates that movement while keeping water out, and it has a shorter life than everything around it.
Where the joints are
On a typical Miami commercial property, worth walking with a list:
- Around window and door frames, where the frame meets the wall. The single most common failure point and the one that produces interior damage fastest.
- Expansion and control joints in stucco, masonry and concrete, which exist specifically to move.
- Where dissimilar materials meet: stucco to metal, concrete to block, panel to frame.
- Parapet and coping joints, which sit in the worst position for sun and water.
- Penetrations: pipes, conduits, vents, signage fixings and anything bolted through an elevation.
- Horizontal joints at grade, where paving meets the building.
- Interior wet areas: around sinks, splashbacks, showers and worktops.
How to tell a joint has failed
Sealant fails in a small number of visible ways, and none of them requires equipment to spot.
Adhesive failure. The sealant has let go of one side and there is a visible gap along the edge. Water goes straight in behind it.
Cohesive failure. The sealant has split down its own middle. Usually means it was over-stretched, often because the joint was too narrow for the movement.
Hardening. Press it with a thumbnail. Serviceable sealant is rubbery and recovers. Failed sealant is hard, and hard sealant cannot accommodate movement, so it will crack shortly.
Chalking and crazing. Surface breakdown from ultraviolet, which in Florida arrives faster than the label allows for.
Simply missing. Common at high level and behind gutters and downpipes where nobody looks.
Why it fails early here
Ultraviolet exposure all year, surface temperatures on a west elevation far above air temperature, driving rain for half the year, and salt on coastal property. A sealant rated for a decade in a temperate climate can be at the end of its life here in five or six years, and on a south or west elevation sooner.
Movement makes it worse. A joint that was cut too narrow, or filled too deep, is over-stressed on every thermal cycle and fails long before the product should.
Doing it properly, which is mostly preparation
Applying new sealant over old is the commonest shortcut and it is a waste of the material. The old sealant is what fails next, and the new bead goes with it.
The sequence that lasts:
- Cut out the old sealant completely, back to clean substrate on both faces of the joint.
- Clean and prepare both faces, removing dust, chalk and any residue.
- Fit backer rod to the right depth. This controls the joint profile so the sealant bonds to two faces and not three, which is what lets it stretch. A joint filled solid is a joint that will tear.
- Prime where the substrate needs it, which some porous surfaces do.
- Apply and tool the bead so it is compressed against both faces with a slight concave profile.
- Protect it while it cures.
The backer rod is the step most often skipped, and it is the one that determines whether the joint lasts its design life or fails in two summers.
Sequencing with painting and washing
Order matters and it is frequently got wrong.
Seal before painting, so the coating runs over the joint rather than being cut by it later. Confirm the sealant is paintable, because some are not.
Repair joints before pressure washing, not after. A washer aimed at a failed joint drives water straight into the wall, and it will also strip sealant that had years left.
Inspect joints as part of any exterior programme. Sealant frequently needs replacing in the middle of a paint cycle rather than at the end of one, so treating them as the same job on the same interval leaves several years of exposure.
What it is worth
Sealant is inexpensive per metre and the labour is straightforward on accessible elevations. Set against it: a failed window perimeter joint produces interior water damage, ruined finishes, potential mould remediation and a tenant complaint, and the repair is drywall, paint and sometimes flooring.
It is one of the few maintenance items where the preventive cost is genuinely trivial against the reactive one, which is exactly why it is worth putting on a schedule rather than waiting for a stain.
Where this sits for us
Caulking, joint sealing, pressure washing, painting and the surface repair around all of it are performed by our own technicians, and none of it requires a Florida contractor licence. Where an inspection finds the real problem is a roofing detail, a structural crack or a failed parapet, those are licensed trades and we scope and coordinate them rather than sealing over the symptom.
Common questions
Questions we get asked about this
How do I know if a sealant joint has failed?
Look for a visible gap where it has let go of one side, a split down its own middle, or missing sections. Then press it with a thumbnail: serviceable sealant is rubbery and recovers, hard sealant cannot accommodate movement and will crack shortly.
Can new sealant be applied over old?
It can be, and it is a waste of the material. The old sealant is what fails next and it takes the new bead with it. The old material has to be cut out completely, back to clean substrate on both faces, before anything new goes in.
What is backer rod and why does it matter?
A foam rod fitted into the joint before sealing, which controls the depth so the sealant bonds to two faces rather than three. That is what lets the bead stretch. A joint filled solid tears instead of stretching, and skipping the rod is why joints fail in two summers.
Should joints be sealed before or after pressure washing?
Before. A pressure washer aimed at a failed joint drives water straight into the wall and will strip sealant that had years of life left. Repair the joints, then wash, then paint, and confirm the sealant is paintable before coating over it.
Keep reading
Related field notes

One company, whoever does the work
Our technicians handle the trades that need no state licence, and licensed contractors handle the ones that do. Either way we scope it, book the visit and file the record. Tell us the property and the problem and we will come back with a window.